Crochet lessons
Knitting — a kind of needlework not only available for older preschoolers, but also very useful for the development of fine motor skills of the hand, the formation of positive personality traits necessary for the child in his further education at school.
Crochet is easier for children to learn than knitting, because there is only one tool (hook) in the child's hand, and only one loop is in operation, which means it is easier to follow and catch it. Crochet skills can be useful for the baby not only to create a fully knitted yarn products, but also for connecting or tying parts of the fabric.
Learning to knit preschoolers is best organized in the form of a circle, which will allow children to get knitting skills and gain experience with bulky products. The work of the circle is designed for 2 years — in the senior and preparatory groups.
The Content of the first year of learning crochet is familiarity of children with products, tools and materials, safety rules, yarn properties, history of needlework, the formation of the ability to hold the hook and yarn, perform the first loop, a chain of air loops, close the chain, adjust the thread tension, loop length, use knitted elements for the manufacture of toys, attributes for games and Souvenirs, creating panels.
Content of the second year may be the formation of the ability to tie loops "polytypic", "column without nakida", "column with nakida," the reception of the edge banding, fabrication of planar and volumetric toys, doll clothes and other products.
From the conditions in which children are engaged, depends largely on the success of the training.
In the interior design of the room where classes are held, there should be crocheted products made by the hands of the teacher and children. The workplace plays an important role. During work, children can sit at tables, arranged in rows, tape or letter P, the main thing is that children do not interfere with each other, and the teacher can freely approach each child. The table and chair should match the growth of the baby, and the workplace should be well lit.
For individual work and independent activity of children, a manual work corner is necessary, in which three zones are allocated: a workplace, a wardrobe for storage of materials and unfinished works, a place for an exhibition of children's works. Necessarily in the area, the presence of photographs, drawings, toys, patterns, knitting patterns, didactic games, familiarize with the properties of the yarn, color, colour, drawing panels, designing toys, etc.
It is most convenient for Children to work with wool yarn of medium thickness in one thread, rather soft and non-slip. You can use a bright synthetic yarn that attracts the attention of children with its brilliance. During knitting it is better to keep a ball in a special strawberry, a small basket or a box standing on the floor on the left side of the worker. After work, the hook is inserted into the ball and removed into the box along with the unfinished work.
At the initial stage of training, children should use a metal hook of medium thickness, the diameter of the hook should match the thickness of the yarn.
When planning working group, selecting the content of lessons, the sequence of their conduct should be taken into account didactic principles such as the location of educational material "from simple to complex", "taking into account age peculiarities of children," "practical relevance", "accessibility", "clarity", etc. With these principles in mind, the learning process of preschool children knitting can take place in the following stages.
first step (2 — 3 lessons)
Two or three lessons are devoted to familiarizing children with knitted products, materials, tools, safety rules and workplace organization. In these classes, the purpose of which is the formation of interest and desire to master needlework, you can spend didactic games: "help the little animals to find a tail", "Whose is a bow?"(familiarity with the properties of yarn: thickness, color, roughness...), "Find each hook your house"," Pick up the threads to the hook " (matching the hook with the thickness of the yarn).
Familiarity with products and tools is conducted in the form of travel on exhibition or in Fabulous country knitting circle, reading "Stories about three hooks." Children will be interested in the history of the appearance of needlework, described in the"Tale of the goddess Arachne."
The teacher can Start his story like this: "Knitting is a very ancient occupation, which appeared when people learned to tame goats, sheep and camels. Knitting at first, only men did. They grazed animals, cut wool, spun thread, knitted warm scarves, blankets, wooden or bone hook...".
second stage (6 — 10 lessons)
This stage and all subsequent lessons are practical. At this stage of training it is necessary to teach children to hold a hook, a thread correctly in a hand, to pick up a thread a hook, to carry out the first loop and to create small panels, using in the image of subjects the loops knitted by children.
But first of all you should teach your child to sit correctly: straight, touching the body of the chair back, leaning slightly forward, keeping the work at a distance of 30 — 35 cm from the eyes. Before the beginning and after the end of the work it is necessary to offer the baby to wash his hands, so that the thread and the product were always clean, and on the hands there were no small particles of wool.
Learning how to crochet should start with explaining and showing how to hold the hook (thumb, index and middle fingers of the right hand — like a pencil).
- The middle finger should be slightly closer to the head of the hook, the index finger a little further than the middle finger, but lie on the hook, and the thumb should support the hook from below; ring and little finger-bent;
- How to position the thread: hold on the ring and index fingers of the left hand, passing the thread down and holding it there with your thumb, the thread should be evenly stretched.
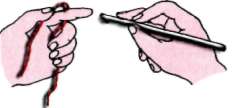
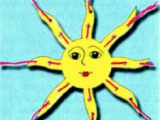
To teach children how to hook a thread, how to hold a hook and thread correctly, you can use didactic exercises "Fluffy sun", "fly a kite", artistic word:
Look at the fingers,
Fingers — boys,
the smallest is the little finger,
Next to it is the finger without a name.
Middle finger — in the middle,
followed by a poke, index Finger.
and my last finger,
the fattest, the biggest.
From this stage should be carried out in the classroom finger gymnastics and physical training that will avoid fatigue.
The Hard work at this stage is to teach children to perform the first loop. Teacher uses display, explanation:
- The Hook is inserted under the thread on the left hand.
- Move the right hand to make a full rotation of the hook with the thread on itself.
- Holding the resulting loop at the base with your thumb and middle finger, insert the hook under the thread and drag it into the loop.
- The resulting loop is slightly tightened.

Drawings and individual diagrams for each child should show the position of the hand and hook when knitting.
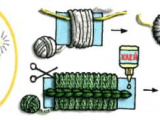
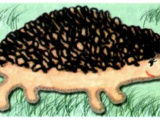
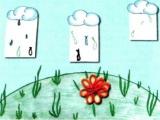
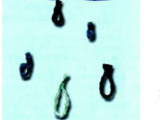
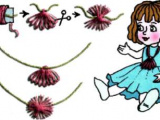
To consolidate the skill of performing the first loop, the child should be offered to cut the tied loop just below the base of the knot, and then tie a few more loops and also cut them. In this lesson, a game technique can be used: the appearance of a sad cloud hurrying to water the flowers on a flower bed and losing its droplets-rain. Performed by the children of the stitches used for applique (the spines of the hedgehog, flower petals, drops of rain...)
stage 3 (10 — 20 lessons)
The main purpose of this stage is to teach children how to knit a chain of air loops and the use of linked chains in applique work.
First explains how to link the chain: "after the first loop, knit the second. For its formation again enter the hook under the thread on the left hand, performing the same operations as when knitting the first loop. Thus, perform a series of loops that form a chain. To secure the chain, that is, to perform the last loop, it is necessary to break the thread, its end to pull into the last loop and tighten the thread".
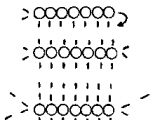
Display, drawings (knitting of the first, second and last loops) and chain schemes with the exact number of loops are Used.
All the practical techniques of knitting it is best to give children in the form of an individual, taking other kids with transcription of non-ferrous chains or didactic Board games. When children master the simplest techniques of knitting, you can use a group form of work.

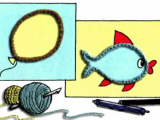
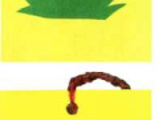
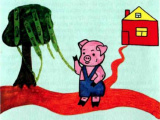
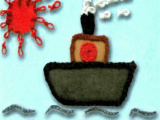
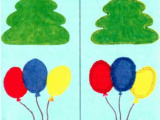
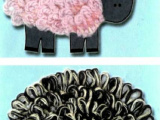
Children use Knitted chains in appliques, pasting them along the contour of parts made of colored paper or simply painted on the background (balloons, chickens, Bunny, fungus, etc.). The color of the thread and the length of the chain children determine by fitting, applying the associated chain to the scheme. The first tasks should be small, so that children quickly get the result. You can perform teamwork (the chain knits every child, and the background panels — General) or create the product according to the principle of the split images.
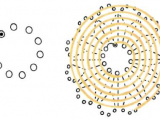
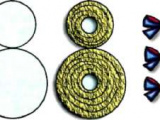
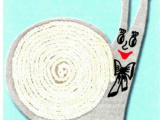
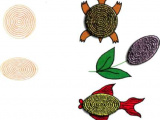
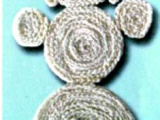
A more complex application work will be an image in which the part is completely sealed with a chain, located on the principle of "snails".
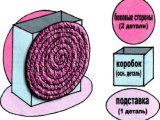
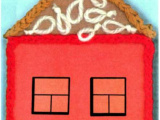
Children can perform and voluminous toys made of thick paper and pasted with knitted chains (houses, animals...).
Fourth stage (6 — 8 lessons)
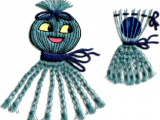
At this stage, children perform flat and voluminous toys (snowman, tumbler, cat...), interior decoration.
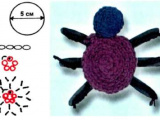
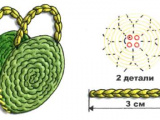
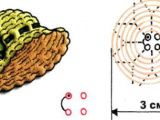
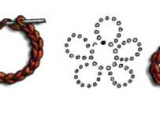
In addition, you can teach children to close the chain of air loops in the ring and then tie to this ring smaller rings, placing them through 2 — 3 loops on the chain of the main ring so as to obtain a small flower.
fifth step
These lessons summarize the work of the circle for the first year of study. They can be organized in the form of games, entertainment, exhibition of children's works, etc.
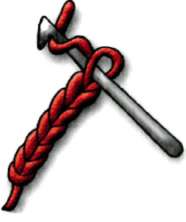
In the second year of training the main content of classes with children is learning to knit round parts and rectangular fabrics.
Round, oval or square details children sew, fill with cotton, products are decorated with small details, knitted or made of other materials. So it is possible to make volume soft toys, household subjects-mats, potholders, etc.
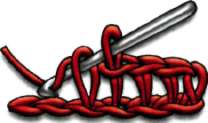
Children learn to knit columns without nakida, which can perform dense knitted fabric.
To start knitting it is necessary with a chain of air loops, and then the hook is introduced into the third loop of the chain, neschitaya loop on the hook, he throws a working thread, i.e., is yo, then yo is pulled through the loop of the chain and the hook is formed in two strands, and then again captured by a working thread, a second yo and the thread pulled through both loops that are on the hook. So promazyvaetsya each loop row. At the end of a row one air loop is tied, and knitting is carried out in other party.
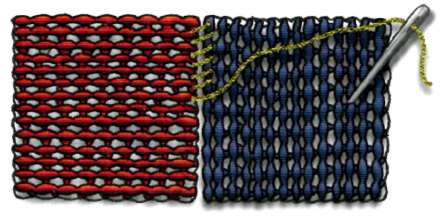
Knitted fabric can serve as a rug, scarf, tack, detail of clothing for dolls. Products can be plain or striped.
When knitting columns in a circle, children can make a detail for a three-dimensional toy (fungus, bun, etc.).
"Polostevichi" or "bound edge" allows the child to not only remove some of the bumps when vyvazhivanii fabric (to tie thread the same color as the canvas), but also to decorate the product (thread of a different color) or to connect the parts of the product (handbags, eyeglass cases, cases for combs).
Learning this technique should be carried out on a knitted canvas. For this purpose it is necessary to connect an air chain, then to enter a hook into the second loop of a chain, without counting a loop on a hook, and, having seized a working thread, to stretch it through a loop of a chain and a loop on a hook. And so out of every loop.
Semi-columns can not only tie the edge, but also to knit fabric for different products.
Items can be embroidered.


