So, today we have plans promised a master class on production of the original beads with their hands. A little bit about the process and the necessary tools has already been said in the last release. So, if you missed all the fun, it's time to go back a little.
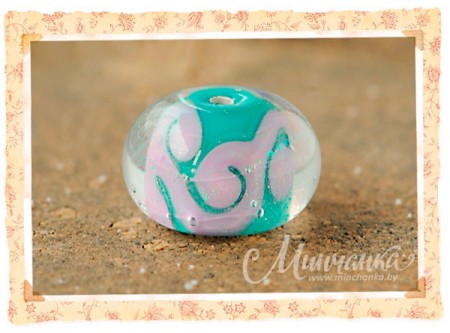
Now about tools:
- Gas burner;
- Special needle for glass application (it also has an unusual name "mandrel"), which should be applied to the separator (special clay, which is designed to ensure that our finished glass bead easily parted with the needle);
- Two dental instruments-hook and tweezers;
- The strip is not colored glass, and dichroic. It has amazing properties-shimmers with different colors;
- And glass strips Moretti EDP, CIM Celadon, Super Clear Transparent;
We take our first glass rod colors Moretti EDP and begin to create the stringer. It's a small glass string made with tweezers. When it is ready, gently anneal it from the main strip and set aside-let it cool.
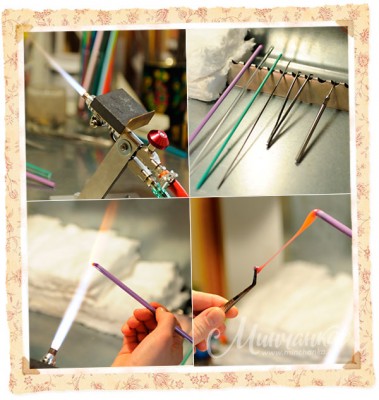
Now let's do the spoke, the mandrel and heat the part where there is a separator to red.
In the course will stick the glass kind of CIM Celadon. Begin to heat it until the end does not seem a drop of molten glass. Then start to wind it on the spoke. Pay attention to the location of the tools: the mandrel should be above the flame, and the glass rod — in the flame. Gradually, the bead will become more and more voluminous, catching up to 1 cm.
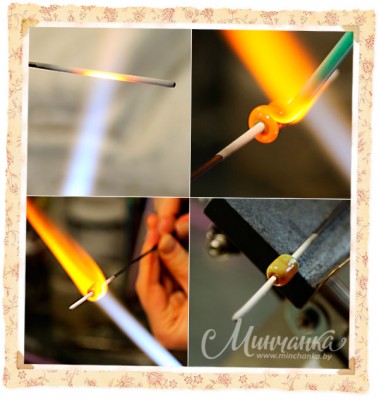
After that we begin to equate bead by heating. The main thing here is to make sure that the glass lies flat and does not flow in one direction. If necessary it is possible to equal and about the graphite platform which is available on a torch.
And after the bead has cooled down, you can begin to form a flower pattern. Here in the course is created earlier stringer. Heat the tip and leave on the side of the workpiece three droplets. Warm them so that they are not droplets, and points on the workpiece. But remember that you can not overheat the bead, otherwise it may lose its shape. To flower turned with a notch in the center of the petals, take a dental hook and press, then the bead is heated again.
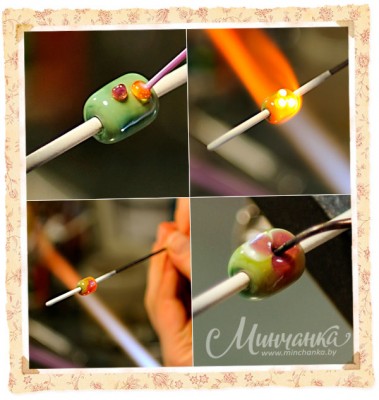
Keep drawing the stringer patterns the way you want. And the pattern fuses into the base.
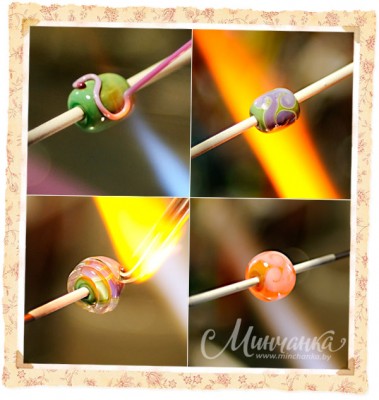
Now cover the bead with dichro glass. The edges are straightened with a dental hook.
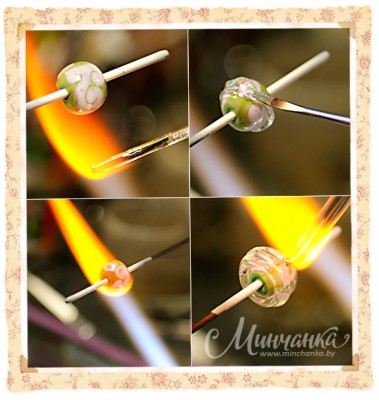
And the final layer for our bead is Super Clear Transparent. Apply it to our workpiece and fuse all the edges to the bead was smooth and smooth.
Again, do not forget that you can not overheat the bead, otherwise it will float in different directions and lose shape.
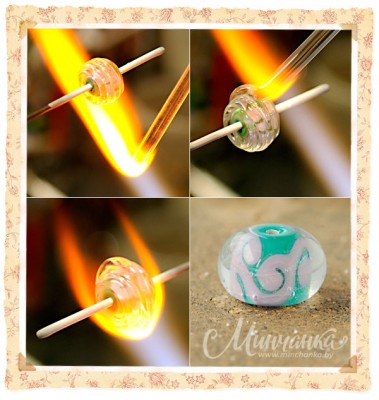
Send the bead to the ceramic blanket after the mandrel stops glowing red and wait for it to cool down completely. That's all, the bead is ready, and inside it flaunts any caused by the stinger pattern.
A huge thank you to the mistress with this wonderful website for such a detailed instruction.


