


")
Now, as promised, will do more steep turns our embroidery.
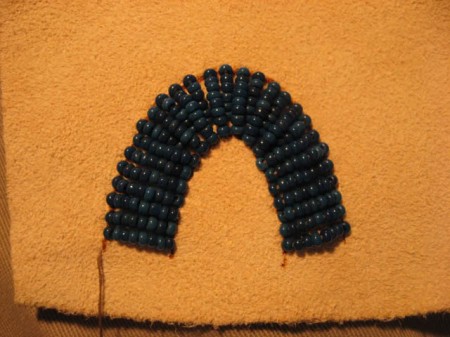
Curved arc beads
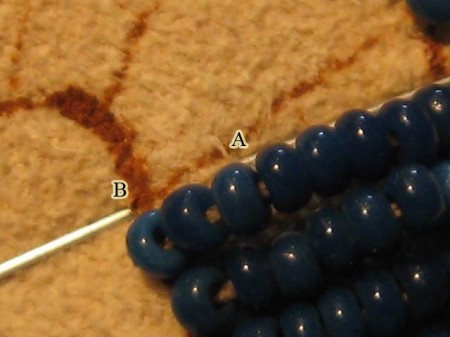
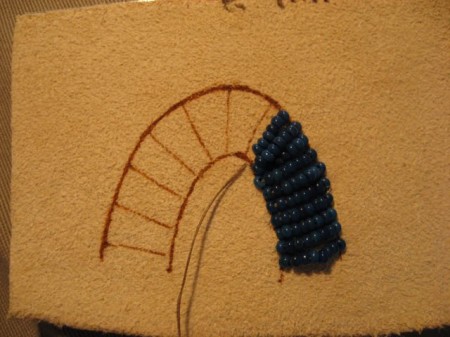
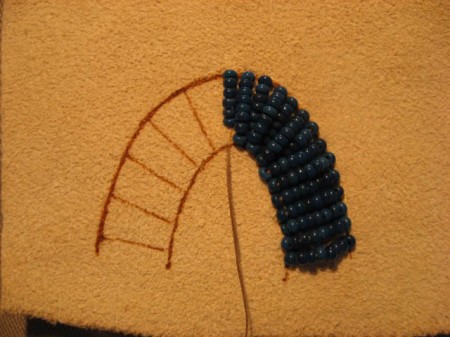
The beginning like last time, is that way – draw the figure on the skin, along with cross lines and start working.
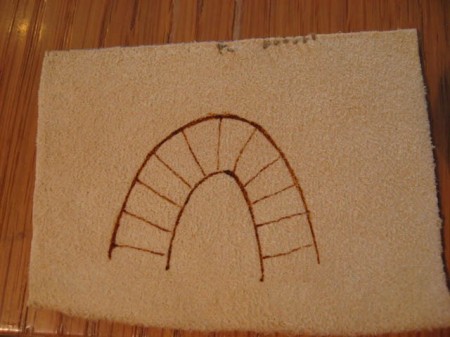
The number of beads depends on the width of our strips.
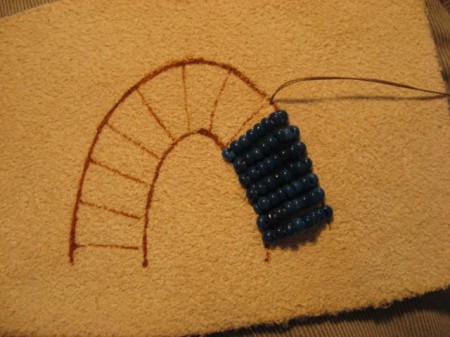
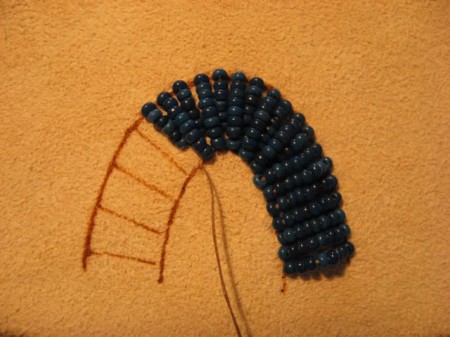
To begin with, embroider smoothly, until we reach the time when we will need to issue the turn (arc). Here the nature of the work slightly changed.
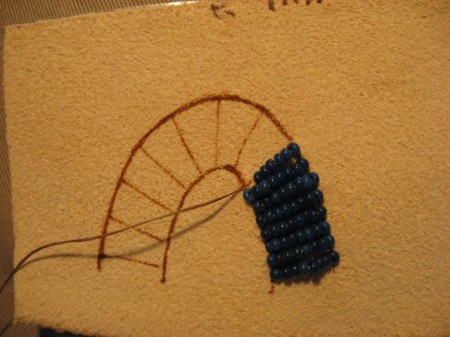
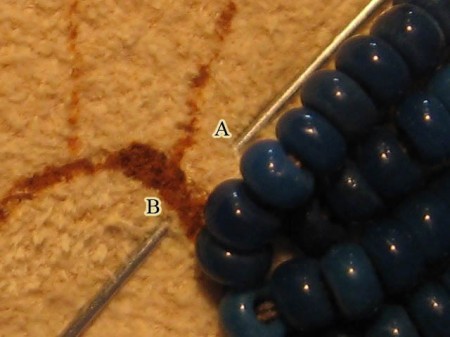
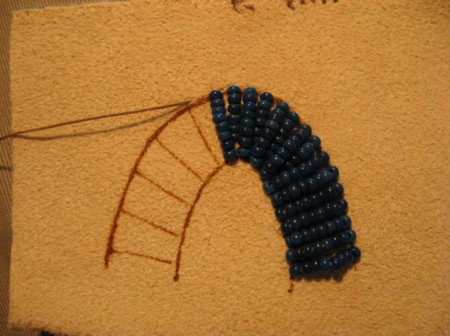
Now we're strung on the thread of a SMALLER number of beads, in our case, just two. This is necessary in order to make the turn went smoothly, and bubbly not bristled. Do not be afraid that such "abridged" series are evident. Then they will block following them, you'll see later.
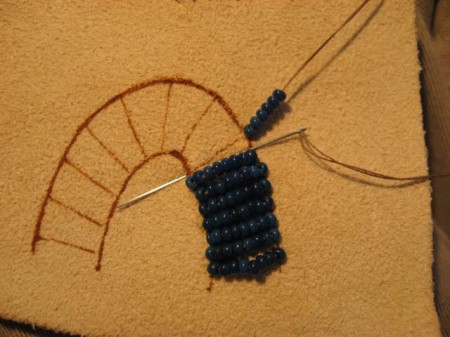
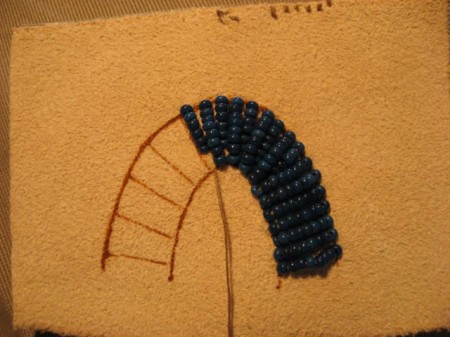
The following series must also be complete, that is, we do stitch with the required number of beads to plain stitch. In our case, all stitches are made up of 8 beads. A needle is sent there, where they ended the previous stitch.
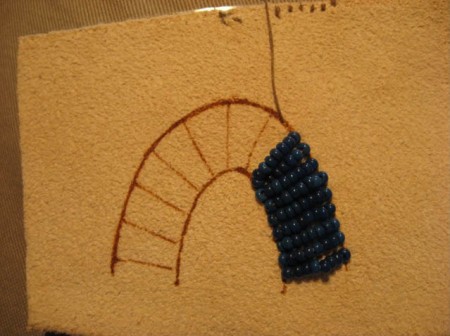
The following series will also be cropped after it goes full-size stitch.
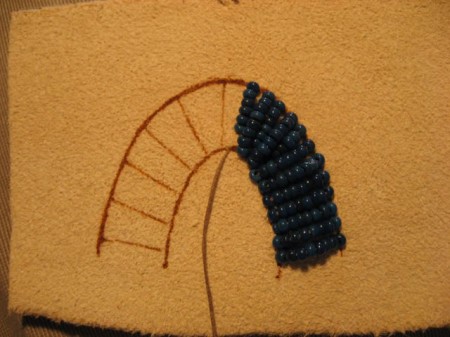
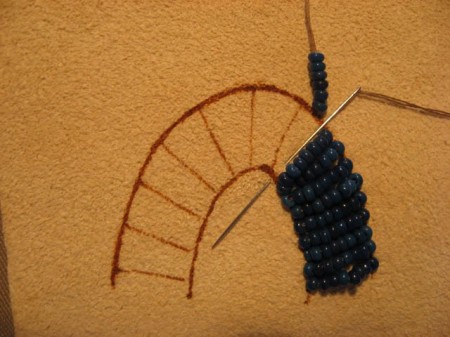
So, gradually, our alternate stitches (short and full), while turn is not over, and we again won't go home stretch for embroidery. So, you get that long series are located as close as possible to each other.
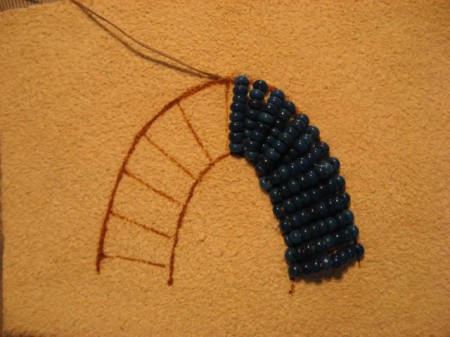
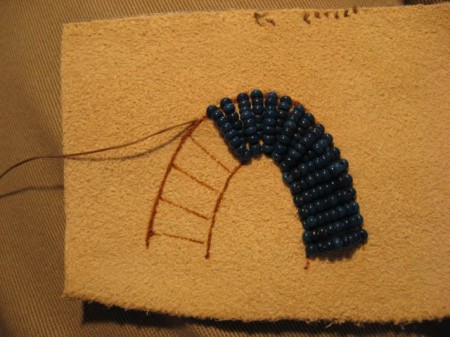
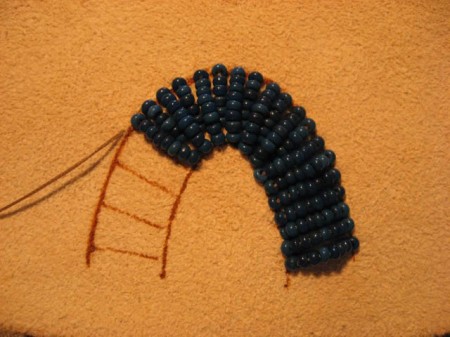
All this is not difficult, the main thing that stitches them inner row, were as close to each other that between them there formed gaps. However, to not overdo it is necessary, because in this case, the embroidery will start to puff up.
In principle, such an arc could be the basis for any embroidery of any pattern. Remember that lighter material such an option may not be suitable, since the bead is low enough in themselves heavy, and they put off the material. In the case of thinner material, you should not use low, and to sew each bead individually.
Thanks to the author for such a number of detailed lessons