


")
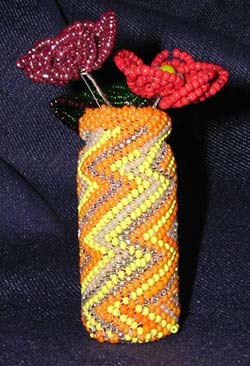
In this article I will tell how to do this "vase" for your beaded flowers:
We should start with the selection of bottles that you want to bead around. I took the flask, which was before any medications, then I kept her beads. And now she is ready to gain a third life :) for Sure and in your inventory there is a similar thing. At worst, go to the drugstore and pick up something suitable in size.
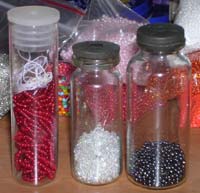
I took the least of my existing bottles (she stands in the middle on the picture). Beaded, she became the same size with the bottle standing to the right.
Let's start work. Decide how many colors you will use in the product. You also need to decide in advance what pattern you will use. There are several ways to make a bottle of plain (the easiest way), use several shades of one color (here you can create a simple geometric pattern, or to collect the beads in a random order), can also be applied drawing on the schema for peyote stitch to the sides of the flask. I decided not to mess with the schemes and chose a simple geometric pattern (those who once used the principle of peyote stitch, can you remember what a pattern is obtained naturally due to the special arrangement of the beads. Beginners I would advise to make a bottle of plain or stringing beads in a random order).
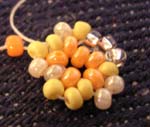
First we need to weave round bead canvas on 1-2 beads greater than the diameter of the bottom opletaev flask. This is done as follows. Type 6 beads and make a ring, passing the needle through all the beads:
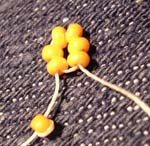
Then insert one bead between the beads of the first row. You should get the following:
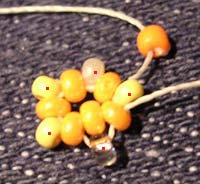
In the figure red dots indicate beads of the second row. Inserting these 5 beads, pass needle through the first bead of the second row to start the third row. In the third row, we will expand the diameter of the articles to do this, we repeat the same what he was doing on the second row, only going to every time to insert two beads instead of one.
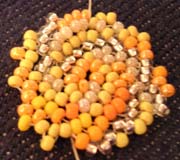
On the fourth row of the alternate number is dialed beads: insert two, then one. The braid is exactly the same, while the diameter of the product reaches the desired size:
After making the bottom, begin to braid the very flask. Run 5-6 rows, not adding to them beads. Slip the bottom into the bottle and continue the twining already in the bottle (which is easier to work, and the case will be better to sit on the product).
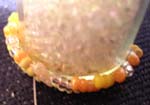
Continue to spin the bottle in a circle, watching the figure, and the tight fit of the bottle with a cloth.
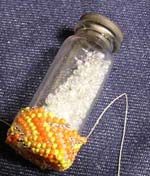
When you get close to the top, you have to start to subtract beads. I ended up in the following way: During the weaving, I took a wide and smooth bead, so that by the end of the work I have accumulated a number of narrow beads. They are something I would put on top, they naturally have narrowed down the canvas. Something where I did not insert the bead, and just passed the needle through the next. So I wove a few rows, and then the bottle is again beginning to expand. Then I again inserted two beads where necessary.