In the last article we got acquainted with the basics of beaded embroidery on the leather stretch. There we paid attention to the difficult moments of the (angular or rounded), and today the gap fill.
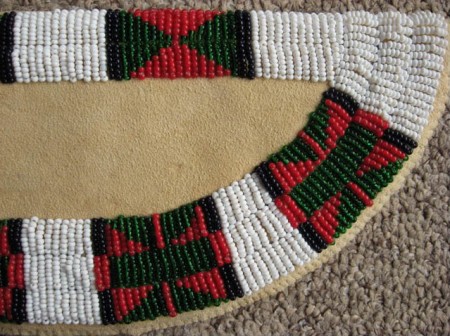
Continue to learn to embroider
Materials you will need the same, embroidering technique, fastening the knots remains the same.
Apply it on the piece of skin angular element fastened to the thread and begin to embroider. As already mentioned, the principle remains the same, the required number of beads to stitch depends on the height of our element. Embroider right until, until we reach the moment of the reduction line.
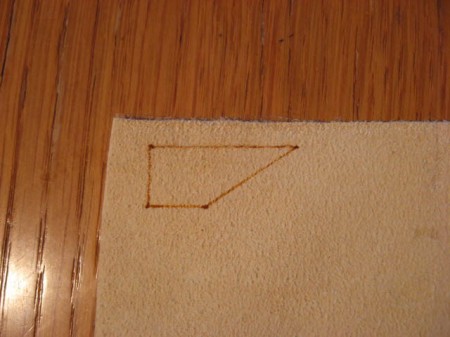
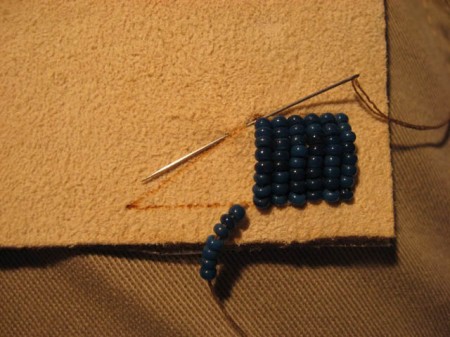
Then everything is quite simply, gradually, with each stitch decrease the number of beads, until then, until it's all over to stitch only one bead.
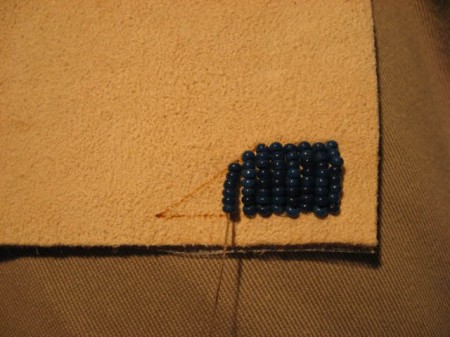
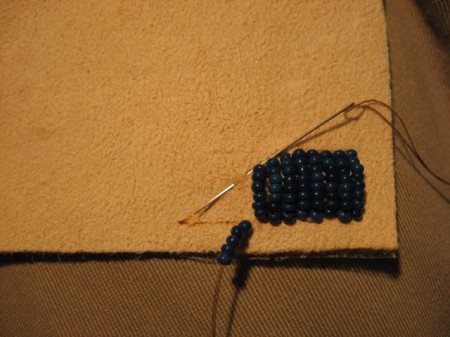
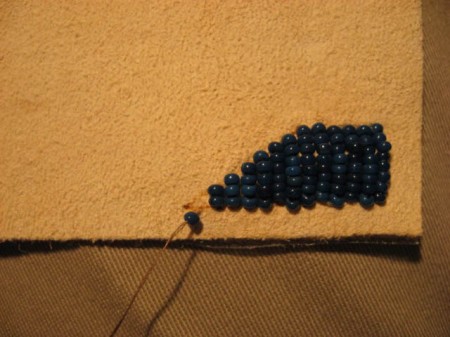
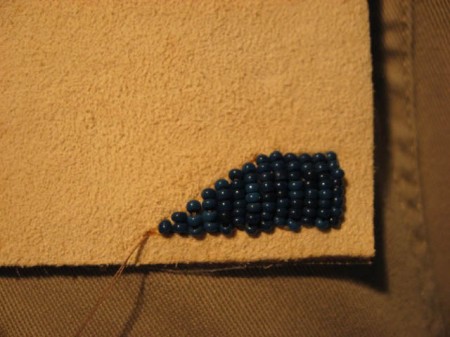
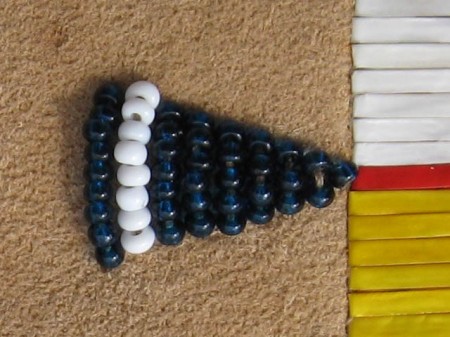
In the same way and embroidered triangular element. Most importantly, the line drawing (stencil) help us not to stray from the path and make the rows and stitches even and neat.
Now let's talk about the turns of the bead line.
Again produced the piece of leather, draw on it, here's a round track. Inside her lines, which indicate the inclination of the bead stitches. This is necessary in order for the embroidery went smoothly and without gaps.
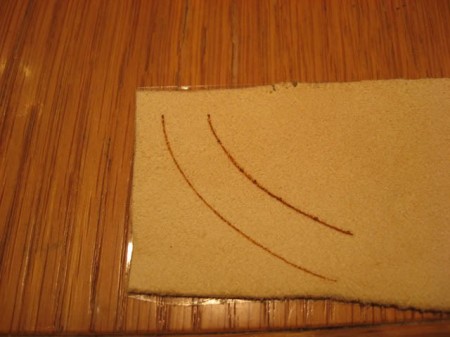
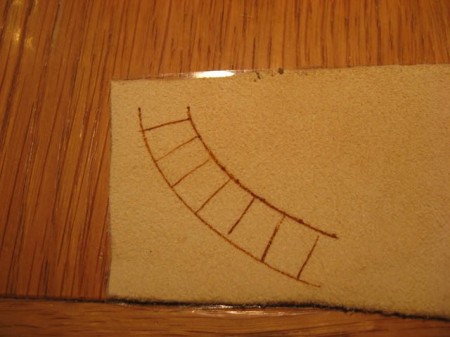
And then we begin work. The principle remains the same, the number of strung beads depends on the width of the strip. Only now the stitches are not located at equal distance from each other. On the outside of the turn, the distance between them should be slightly larger and on the inside, less. So you will eventually conclude, and embroidery will acquire the necessary shape.
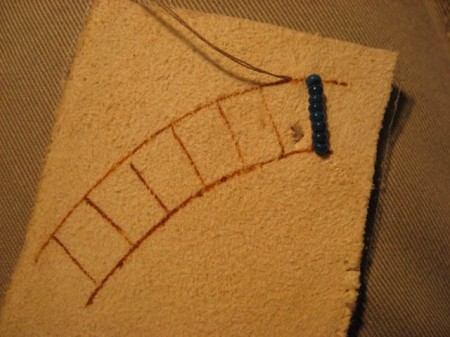
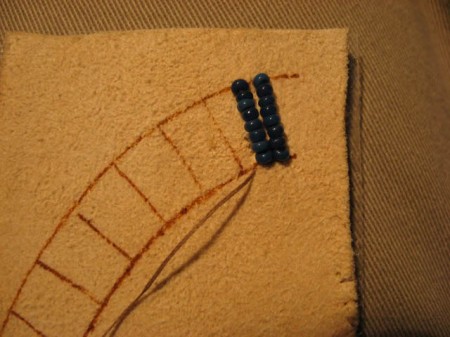
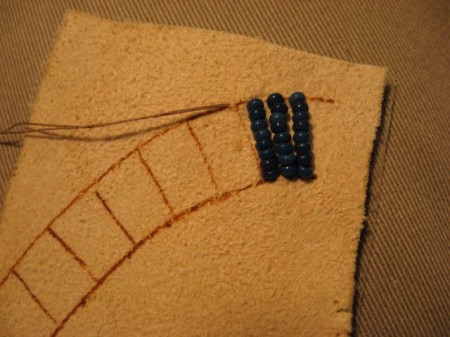
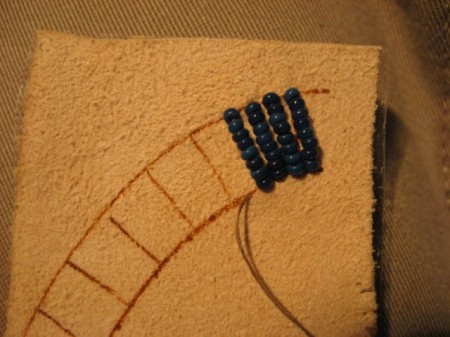
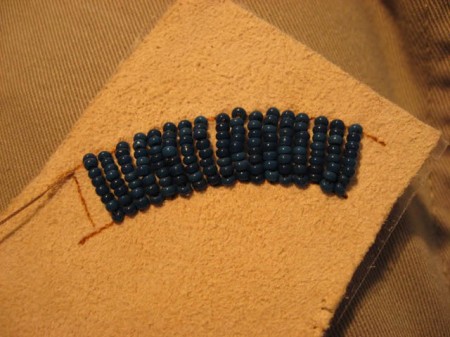
With light twists of the problem you have is unlikely to occur, and from the great and might not be so lucky. However, more details about the complex embroidery of the bands we'll discuss in our next article. Stay with us and we will help you understand the intricacies of embroidery on the skin, so you can create something new and original for yourself and your family.


