


")
You'll need
Linen dimensions of 40 X 60 cm; floss 3-4 adding 5 colours: lemon yellow, light green, light green, green, dark green; embroidery needle; diagram of the pattern in full size; pins; tracing paper; transfer paper; pencil.
Progress
Transfer the motif on a linen cloth. What the scheme of the pattern in full size, switch on tracing paper. The fabric is spread out on a flat and solid surface. It will place the carbon paper, put the tracing paper with the pattern and secure with pins. Sharpened pencil trace all the lines of the motif. Should not the same line several times to trace, since traces of carbon paper is very poorly satisfied with this content. Remove the tracing paper and carbon paper. Motif position on opposite corners of the napkin.
Embroidery perform, seam "forward needle" by gladium roller, double-sided convex surface, easy stitch, stalk stitch, and knotted openwork "split".
In the first phase of work to the embroidery and pull the contour of the tablecloth 1 thread at a distance of 6-6,5 cm from the edge. To thread dragging out the fabric, cut them slightly at the corners. Only after that start to embroidery, having all the stems close to podernuta threads.
In the first place, all the contours of the panel seam "forward needle" thread floss in 1 addition light green color. Follow the large leaves thread in 3 addition green. The edges of the leaves panel by gladium roller. Start with the Foundation, directing the stitch from the edge to the center. Making on the wrong side of the same stitch, go back to the front, pulling the needle with the working thread near the beginning of the 1st stitch. The remaining stitches are put in parallel 1. They must lie very tightly.
After that, the middle leaf complete bilateral convex surface dark green thread in 3 additions. First make along the contour of the "deck" seam "forward needle". In this case the stitches should be small. Embroider bilateral surface of the thread of dark green in 4 addition. Each stitch is put across the circuit and the "deck" close to the previous one.
Dark green threads in 3 addition stalked stitch embroider stems. Pull the needle thread on the front side at the beginning of the stem and make a diagonal stitch on the planned line. Then go back there, pulling the needle with the working thread in the middle of the 1st stitch, and pull the 2nd stitch. It should be the same length as the 1st. The rest of the stitches run in the same protegida them in the middle and extremely close to him.
Small leaves easy embroider embroidery thread in 3 addition light-green and light green colors. Light surface perform exactly the same as bilateral. The only difference is that in mild surface stitches have less and not as tight as when bilateral.
The next step is the implementation of nodules lemon yellow and light green thread in 4 additions. For that, fasten the thread on the wrong side and pull the needle with the working thread on the front side in the marked location. Holding the needle horizontally over the fabric, make 2-3 loop the working thread from left to right, holding the turns of the thumb of the left hand. Push the needle near the exit of the thread and gently pull it on the wrong side. Nodules in this move to fabric.
When working with geometric designs strictly follow its symmetry. This is the main condition for the correct execution of the geometric ornament in any kind of embroidery.
Last run the openwork. Near informed podernuta threads pull another 5 threads, pre-cut them. Pull the needle with the working thread of green color on the front side at the bottom edge frayed. Obvate in a bundle of 5-6 threads. Climb to the top and obviate the first 3 threads. Further obviate the following 6 strands on top edge and back down. Here bundle the following 6 strands and again climb up. Continue to wrap the entire openwork under this scheme. Each column should be split into 2 halves at the top of the heirloom.
After I finished the openwork, fold the edges of the tablecloth to the wrong side and hem to the outer edge frayed. Sew the binding along the edges of the product (Fig. 55).
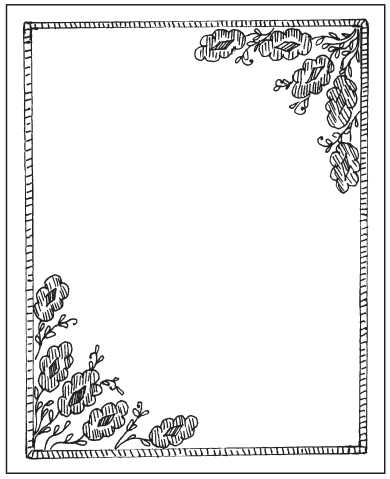
Figure 55. Napkin with openwork leaves and