


")
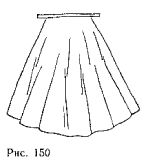
Figure 150 shows part of the garment, simulating a skirt without Darts. To obtain patterns with simple folds take a rectangular sheet of paper and divide it into three parallel strips: 1, 2 and 3 (figure 151). If the pattern size is small enough for three or four strips. In this case you lay six tails on the front panel of the skirt (one in the middle, two on each side and half side views).
Cut numbered strips along the dashed lines. Put the items on a blank sheet of paper and spread them on the hem to desired width (figure 152). The distance between two adjacent strips is the width of the tails, and the outer edges of the patterns — only half. Half of the tails through the middle of the front is doubled when you deploy the fabric, and half of the tails on the side — when you connect front and rear panels of the skirt.
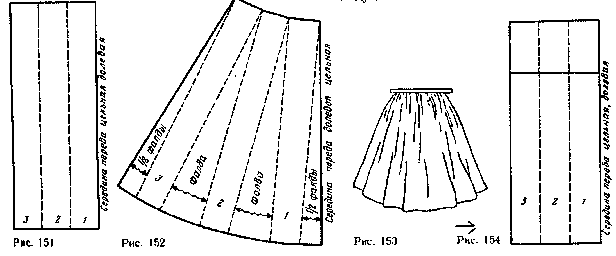
Swipe the contours of each strip, then draw more clearly the line of mid front, waist and sides. Smooth convex bottom line is through all the ends of the strips. The length of the upper line remains unchanged. Only changes its form.
The amount of such expansion of the skirt is determined according to the model, and sometimes based on the width of the fabric. To do this, possible width, subtract the width of the patterns and spread the excess fabric evenly on each coattail.
While performing a simple outfit assemblies that get gathered the tails (figure 153).
Prepare a rectangular sheet of paper the size 17X40 cm Divide collect into an Assembly area on the same strip (figure 154). In this example, the line pribivanija is waistline. It is horizontal and therefore perpendicular to carry out optional (see figure 155).
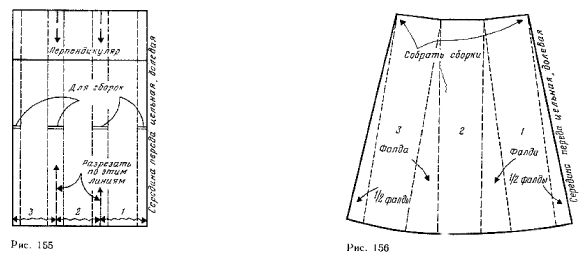
Cut numbered strips. Put them on another sheet of paper and move the same distance, to obtain the necessary width of the Assembly. Mark and draw the contours of every detail, number detail.
For the construction of the tails cut the resulting pattern on the same strips along the lines marked with wavy lines with arrows. Put the strips 1, 2 and 3 on another sheet of paper and push, as shown in figure 156. Surround each detail and the contours of the mold through the bottom line in the form of a smooth curve passing through the ends of the strips.