


")
The original braid pattern looks on knitwear of any type of yarn: thick or thin, cotton or wool, fluffy or twisted. The finished thing looked carefully, you must find the right size knitting supplies, which is indicated on the packaging of the ball of thread. Before working on the product link the sample. To tie the braid pattern you need to dial the loop, and their number must be even, and don't forget to leave 2-3 tabs between the braids. The ornament fit in six, eight or ten loops the more loops, the greater get the picture. Start knitting the pattern.
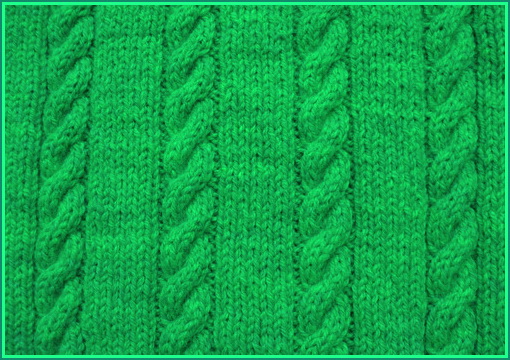
To obtain a narrow spit dial 10 and two edge loops, with 2 loops must be wrong, 6 of the front and the next 2 are also wrong. All the loops in the back row are knitted in pattern – so 6 rows. Now make the cross over. Take a pin or another needle and tie the two reverse loops and three loops in incremental send spoke. To get the left optic chiasm, the extra needle is removed from the eyelets should keep ahead of the product. Then tie three loops from the primary needles, and added drag to the main and vivacite their personal way and two the other. Following a number provarite on drawing and then another six rows in the same way. Again, cross loop, as described earlier. Now to connect the right chiasm: for additional needle remove the three loops and keep it off. Holding the loop plus the spokes of the index finger to avoid slipping, tape the tabs to the working needles, then move from secondary to primary needle and again provarite. Note that when performing pattern "spit" thread consumption for manufacturing of products increases, so the yarn should buy a little more. Auxiliary needle or pin should be the same diameter as the main.