


")
This seam looks good on translucent fabrics. Mark small, simple stitches the outline of the figure, throwing the thread
after each stitch through the wrong side of to the other edge. Make on the other side of the same stitch. Loop the thread back and make the next stitch next to the first. As a result, on the wrong side it turns out the cover of "eights" (Fig. 42).
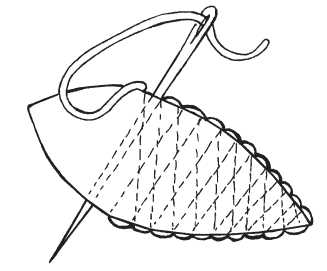
Figure 42. A back seam
It is narrow and most simple hemstitch. On the marked place make a thin thread basting edge frayed. Then carefully trim with 3-5 threads of the fabric along the serged edges.
The next stage of work, secure the working thread at the lower left edge frayed, and print it on the front side in point 1, counting down 3 threads of the fabric. Puncture needle the fabric at point 2, the following count 4-5 threads and bring the needle at point 3 on the front side of the work. Then obviate a bunch of threads working thread, making the stitch from point 3 to point 2 on the front side, and then diagonally to point 4 on the reverse side. Take the next beam. For this, as for the previous beam, the needle and thread enter into the fabric on the front side, counting 3 threads of the fabric. Following a few beams get the brushes with the wrong side — a series of diagonal stitches (Fig. 43).

Figure 43. Merezhka "tassel"