


")
This technique of knitting allows to combine in one product a variety of yarn types - yarn with long pile and a smooth, heathered, and monochromatic. It is important that the thickness of the yarn was the same.
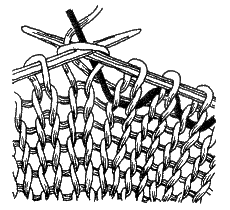
Figure 127.
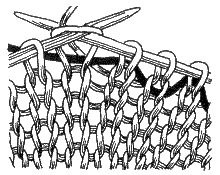
Figure 128.
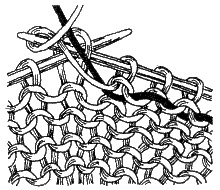
Figure 129.
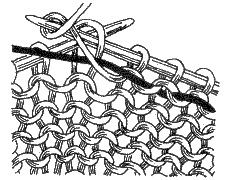
Figure 130.
1. CROSSING THREADS
When crossing threads, the shape and location of the colored sections: vertical, inclined or offset - is not important. The technique always remains the same. At the end of each row, to thread balls are not messed up, it is important to turn vyvazhivanie product: in the front ranks turning movement to itself, in reverse.
Not to get holes at the junction of the two colors, the strands cross over between them. The threads are also crossed in order to avoid long broaches on the wrong side (figures 131, 132).
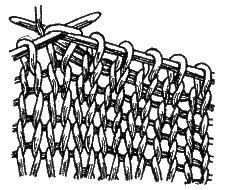
Figure 131.
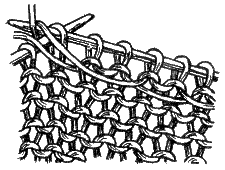
Figure 132.
2. KNITTING PATTERNS YARNS OF TWO OR MORE COLORS IN ONE ROW
These patterns are usually the front surface. Non-working thread in the process of knitting the sky freely on the reverse side of the part, the thread tension should be uniform. It is recommended to use special thimble for knitting, it is worn on the index finger of the left hand (figure 135). The patterns are in diagrams, the icons in the diagram represent the colors of the threads. If the series go in forward and reverse directions, diagram on the front rows read from right to left. For purl rows from left to right.
In circular knitting "coquettes of polumeros" each row of the diagram reads from right to left. To obtain smooth edges of the edge loop promazyvayut working thread.
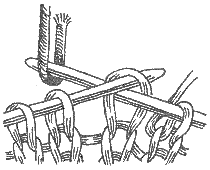
Figure 133.
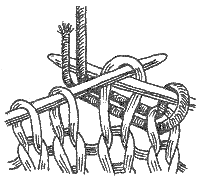
Figure 134.
Figure 135.
3. MULTICOLORED PURL
When knitting colored stripes or ornamentation on the front side of purl loops for provozki one row of facial loops using thread in matching color. Promazyvayut the first row of facial loops, and only then begin to reverse binding (figures 136, 137).
Provatas following a number of threads of a different color, get a motley stripe.
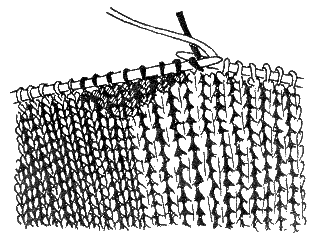
Figure 136.
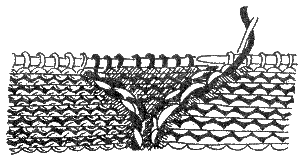
Figure 137.
4. CELLULAR BINDING
So when knitting large cells on the reverse side to create a long broaches, horizontal stripes promazyvayut yarn of the corresponding color, and then sew vertical "chain stitch" seam. Vertical stripes or pattern can be embroidered stitch "loop" stitched on each loop covering the two loops (figures 87, 88).
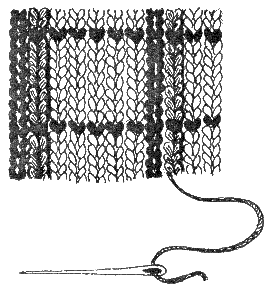
Figure 138. Cellular binding
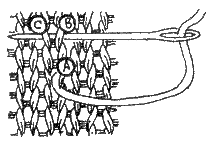
Figure 139. Seam "loop"
Note. "Chain stitch" seam - seam made by the needle from right to left. Fix the thread, throws its loop on to the needle. In the loop, make a small stitch length 3-4 mm and pull the needle. The thread is fastened with a loop and Stitches etc. should do less, this is not recommended-tighten the thread. Seam is used for finishing knitted garments (figure 140).
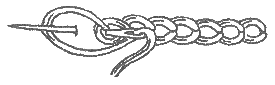
Figure 140. "Chain stitch" seam
5. KNIT ON THE DIAGONAL
If you want to knit a hat or scarf diagonal colored lines, then, calculating the necessary number of stitches for the width of the scarf, dial the first number. In each front row, after edge of the broach between the loops are gaining one that you knit the front or crossed. At the end of this series the last two promazyvayut along the reverse loop.
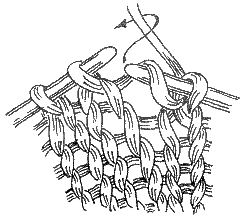
Figure 141.
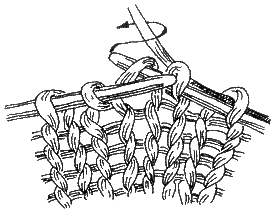
Figure 142.
6. KNIT HERRINGBONE
Pick up 3 loops in each front, at the beginning and end of the series of broaches add one loop.
Reaching the required width of the diagonal, knit the second the same triangle.
After that, the triangles connect on one needle and provyazat all together.
The edges of the row on the needle add one loop, and in the center of the canvas 3 loops provyazat along the front.
Finishing the binding horizontal range, the loop is not added, promazyvaya in the middle of the 3 hinges along the front. Through the last 3 loops threaded ragged thread.
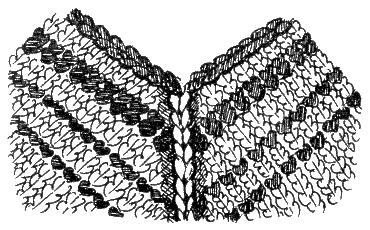
Figure 143.
7. USEFUL TIPS
Introducing a new color, from edge, proverite finishing the front thread of the loop and continue on the scheme.
For jacquard knitting use yarn of medium thickness, but the spokes - on room thicker than necessary with solid binding.
Ornamental and jacquard - the most complex types of knitting that requires attention.