")
MATERIALS
galvanized steel grid with square cells with 6 mm pitch
paint in an aerosol spray can (optional)
3 m plastic tube with a diameter of 6 mm
galvanized wire 2.5 mm diameter
a thin wire
glass discs
pearl beads
4 large glass ball
universal adhesive
TOOLS
clippers
file metal
long thick wooden rod
pliers
pliers with tapered jaws
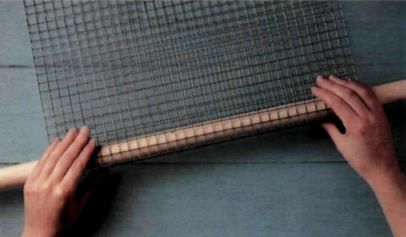
With wire cutters, cut a rectangular piece of wire mesh. Its size will depend on the size of magazine racks. Grind, file the edges smooth. If desired, paint the grid and let dry. Fold the mesh in half around a wooden rod.
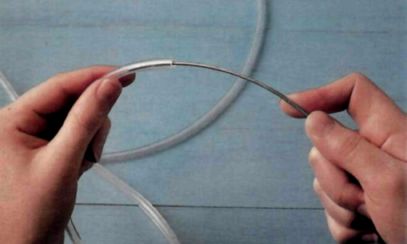
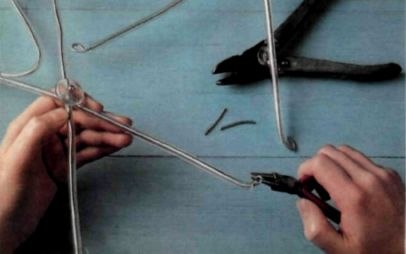
Cut the plastic tube in half. Pass through received tube two pieces of insulated wire with a diameter of 2.5 mm, leaving both ends by 2.5 cm of wire without windings. Bend them in the middle in the shape of the letter V.
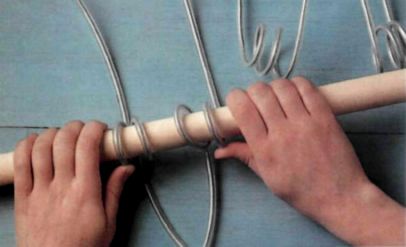
Measure 12 cm from the bottom of the two letters V and three times obvate free ends of the wooden rod to each wire turned pair of short helices (see photo). The free ends of the spirals should be drawn in the same direction as the bottom of the letter V. These spiral — feet of magazine racks.
Cross the free ends of the spirals on each piece of wire and secure them at the center point with a thin wire. Decorate both connections, strung on a thin wire discoid and pearl beads and firmly securing them. With pliers bend all the wire ends through the loop.
Insert between the turns of each helix of large glass beads. If necessary, apply a DAB of glue on each bead and let the glue dry to the point of attachment.

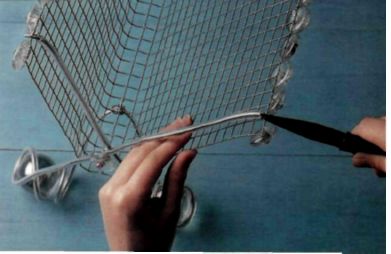
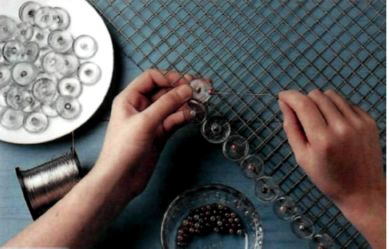
Make a decorative frame the upper edges of the grid, securing them along discoid and pearl beads (see photo).
Attach the mesh to the legs, slightly tilting the inverted letter V inside of each leg and tying it to the surface mesh approximately at the level of the fifth grid cells from the edge (see photo).
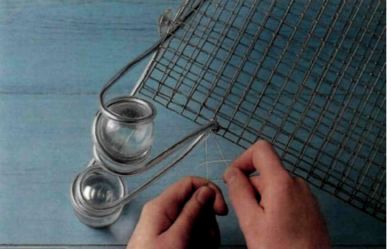
Push the upper edge of the mesh in loops at the ends of the legs and lock the hinges by squeezing the pliers with conical jaws. Now the design is stable.